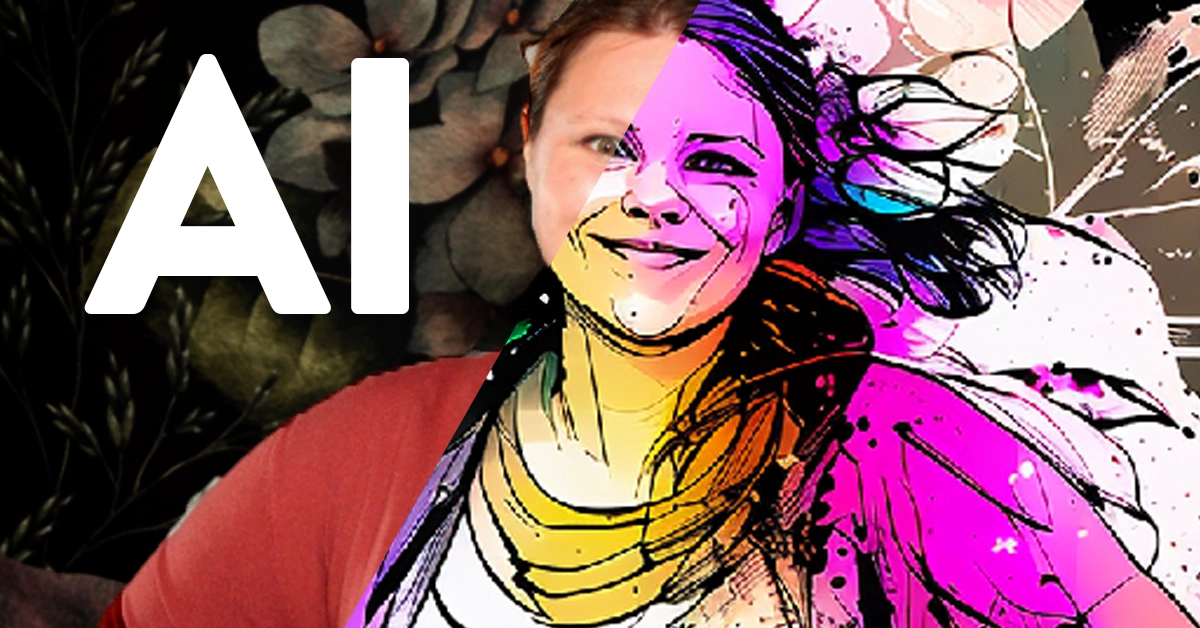
Double exposure photography is a captivating technique that allows you to blend two or more images into one, creating an artistic and visually stunning effect. With the help of Photo Booth Upload (PBU), the premier software from LA Photo Party, you can easily master this technique. In this blog post, we’ll explore what double exposure is, how to use it, what you need to get started, and other creative ways to make the most of this feature.
What is Double Exposure Photography?
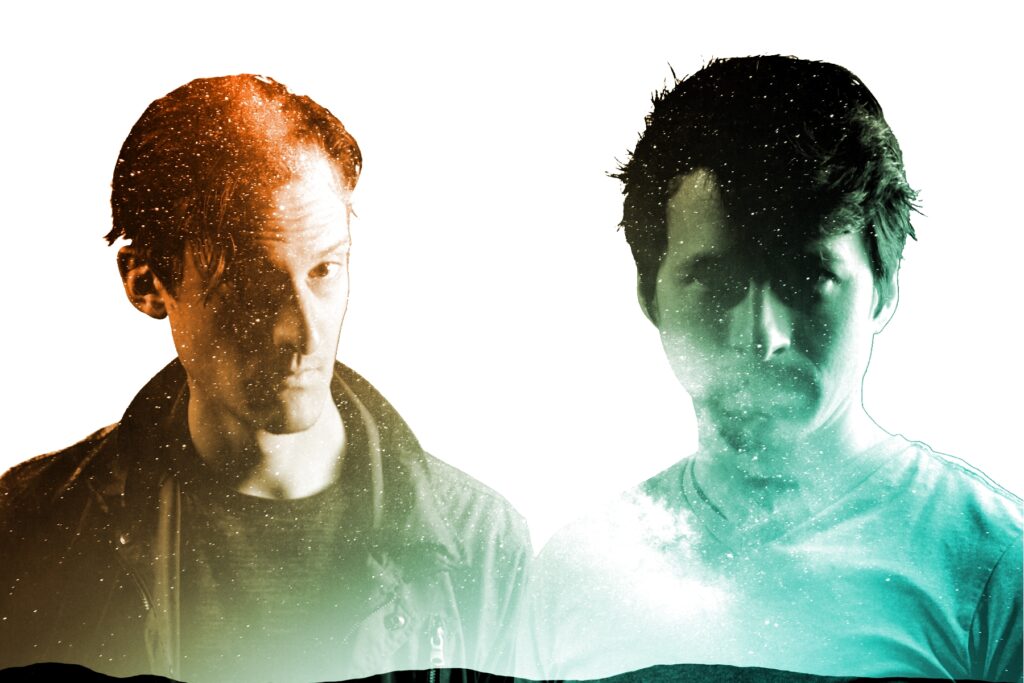
Double exposure is a photographic technique that combines two different images into a single frame. The result is a striking and often surreal image that seamlessly blends elements from both photos. This technique is widely used in art and photography to create unique and visually engaging compositions.
Stay up to date on the latest Photo Booth Upload News
Sign up for our mailing list and keep up with everything LA Photo Party has to offer.
How to Use It
Here’s a a step-by-step guide to creating double exposure photos using PBU:
Step 1: Choosing the Perfect Background
- Find a stock image to overlay on top of your photo.
- Ensure that the background image matches the dimensions you want for your final photo.
- For a standard 4×6 image, set the background size to 1800 by 1200 pixels
Step 2: Getting Started
- Access the “Settings” in PBU.
- Select “Green Screen” and create a new green screen.
Step 3: Mastering Blend Modes
- Utilize overlay layers and blend mode features within PBU.
- We recommend using the Linear Dodge blend mode and setting the opacity to 75%.
- Experiment with different blend modes and adjust opacity to control the interaction between your images.
Step 4: Adding an Extra Layer: Your Logo
- Make your double exposure photos more personalized by adding a logo.
- Navigate to “Overlay Image,” select your overlay, and fine-tune the settings to achieve the desired effect.
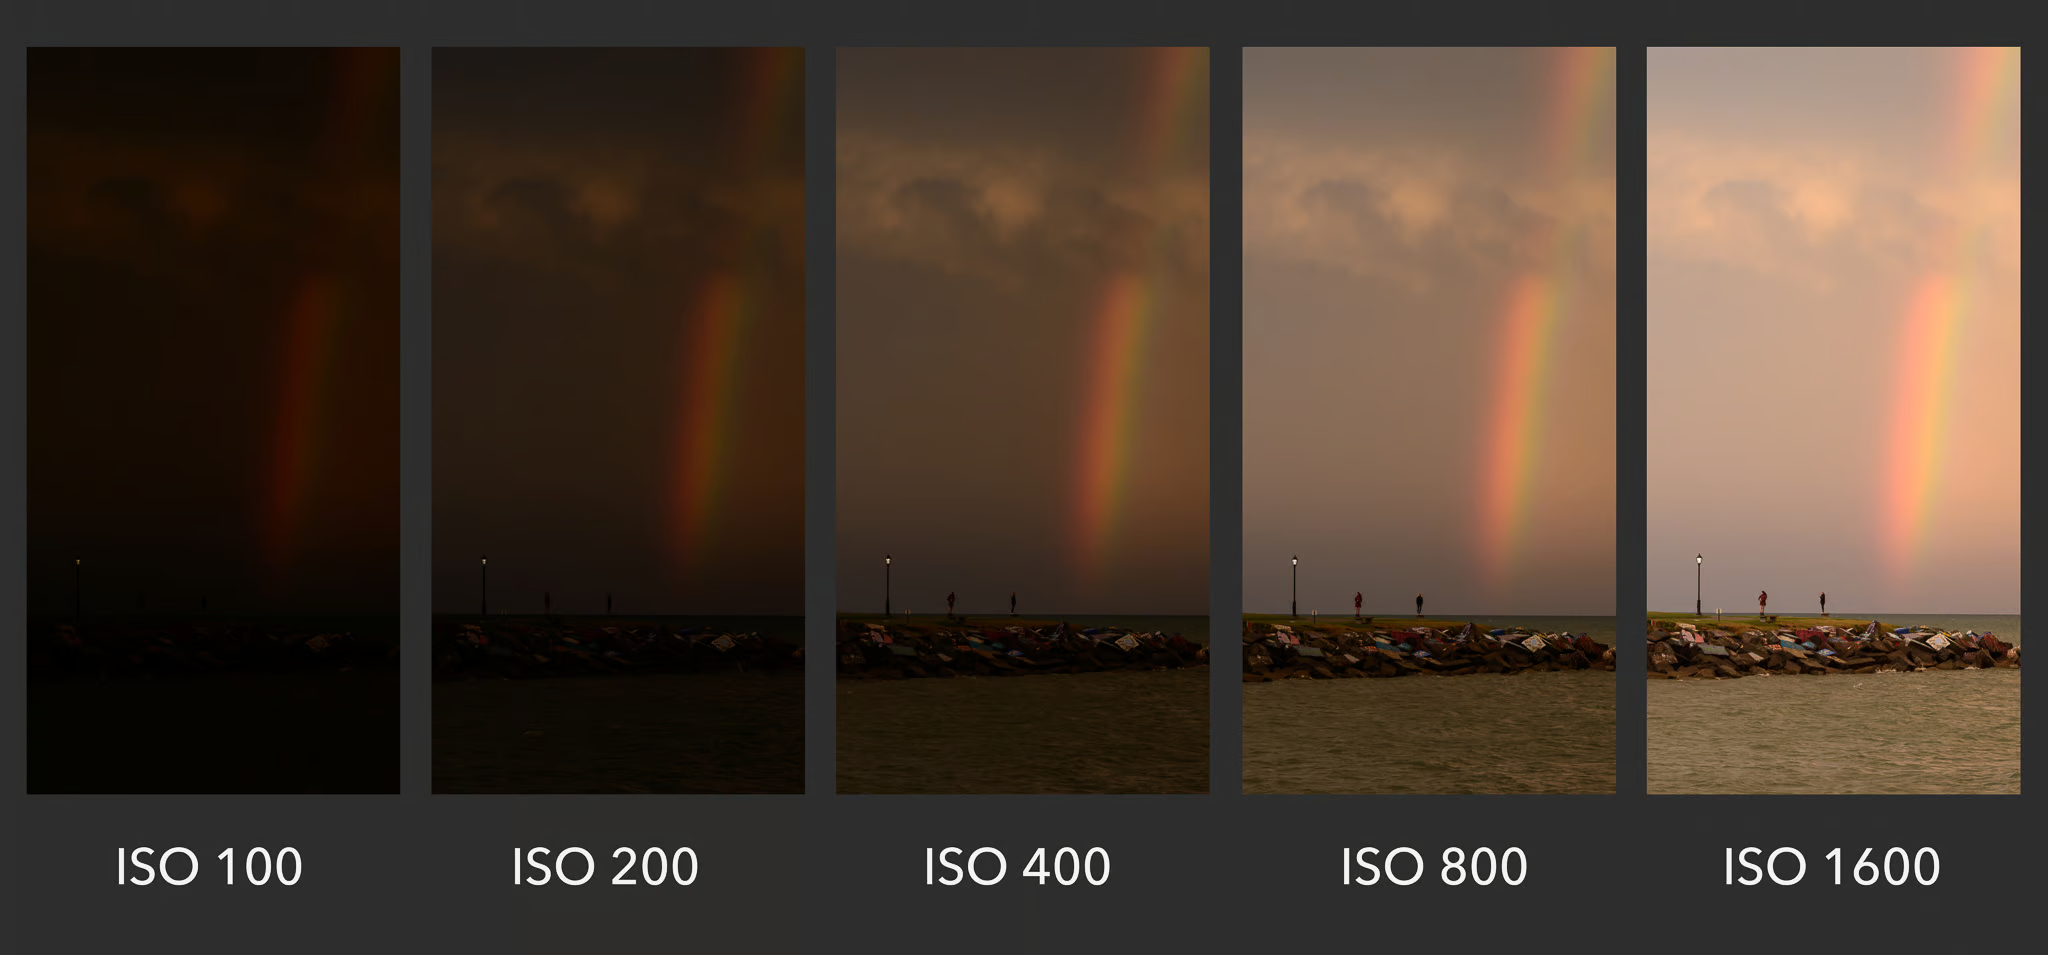
STEP 5: Lighting your setup
- Since double exposures superimpose your overlay image on the shadows and dark areas of your image, it’s important to create shadows on your guest. Consider adding an additional strobe to your activation and offsetting it as a key light to cast a darker shadow on the guest’s face and body for best results.
Step 6: Capturing the Magic
- Take your photo with the settings in place.
- Observe as the software applies the superimposed image to the shadowy areas, enhancing the visual impact.
Other Ways to Use Double Exposure
Double exposure isn’t limited to just blending two photos. Here are some creative ways to explore this technique:
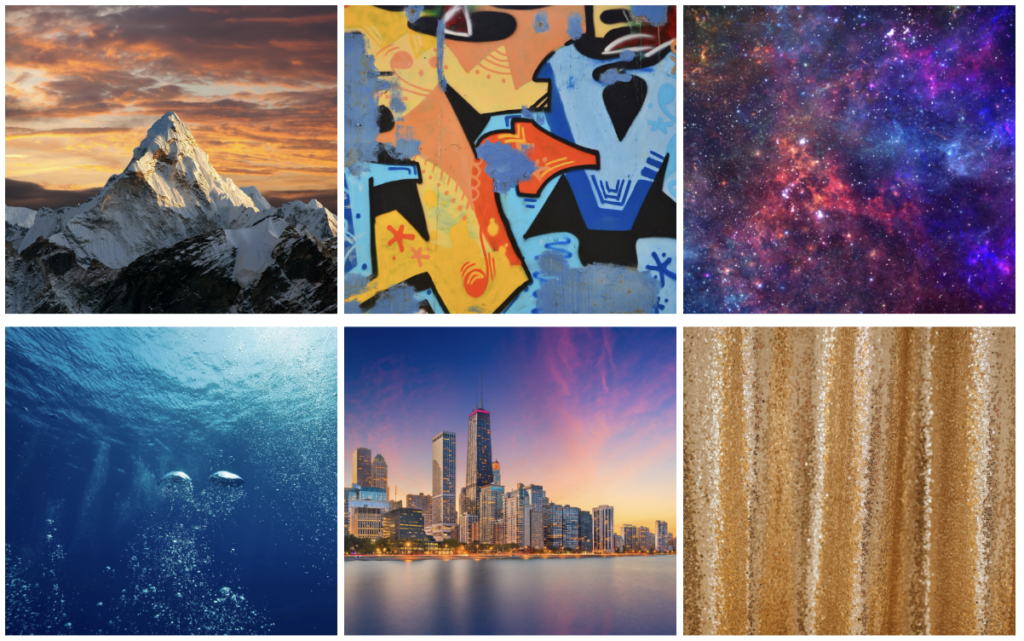
- Texture and Pattern Overlays: Combine textures and patterns with your photos for a unique and artistic effect.
- Silhouettes and Portraits: Merge a silhouette or a portrait with another image to create a visually striking and emotive composition.
- Nature and Urban Blends: Blend natural landscapes with urban scenes to create a captivating contrast between two worlds.
- Double Exposure in Video: Apply the same technique to video editing for dynamic and artistic storytelling.
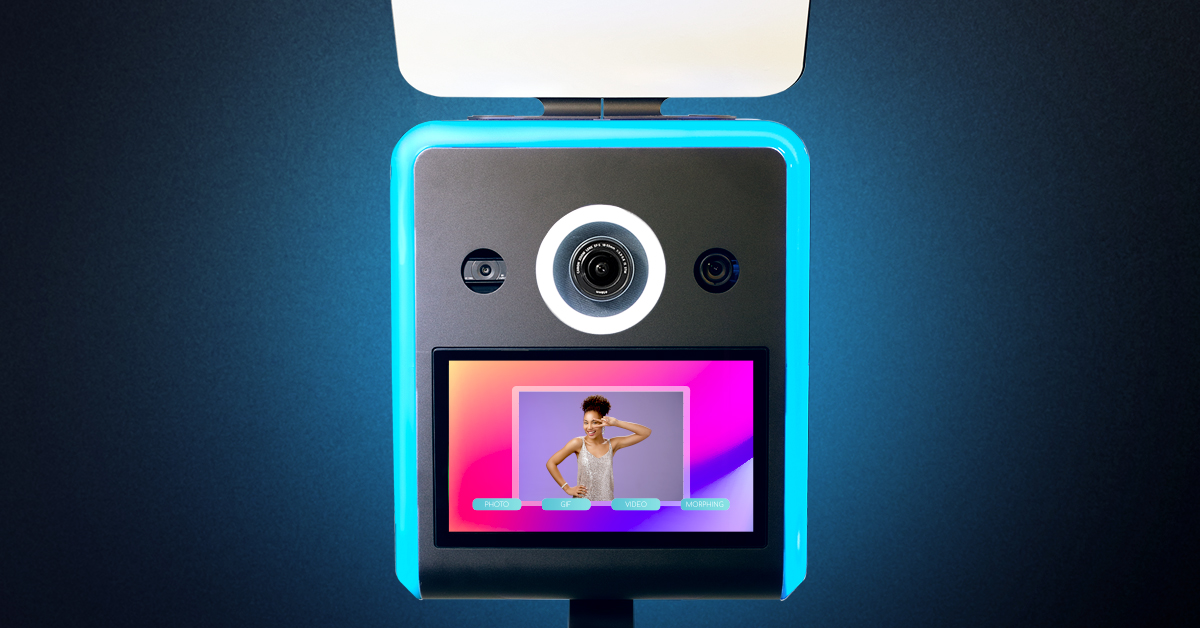
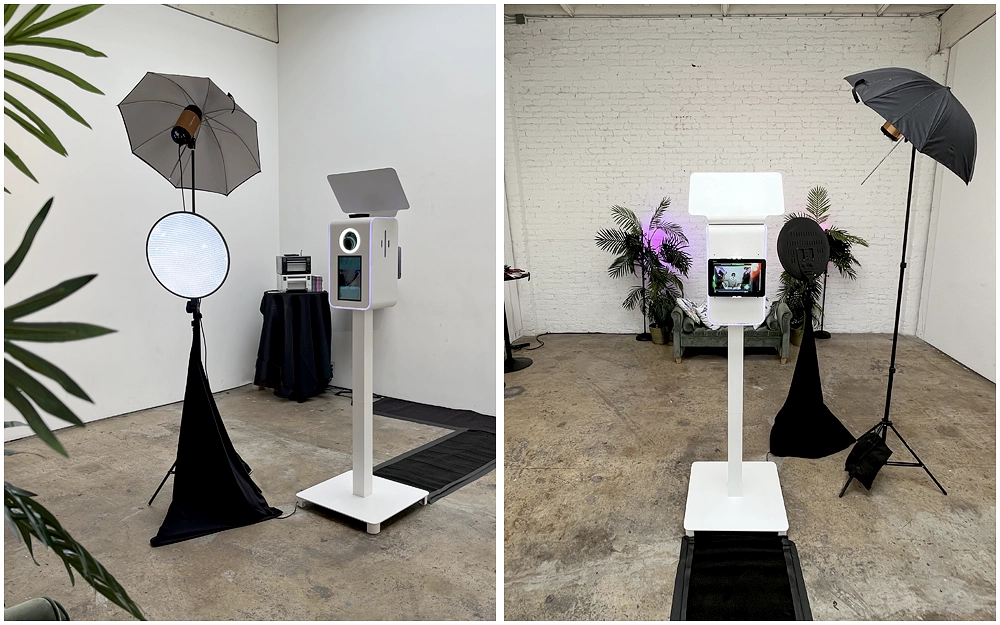
WHAT YOU NEED TO GET STARTED
- Photo Booth Upload
- Camera
- A white backdrop
- A strobe offset to the side to create shadow on the guest
- Stock images like those below. Pexels is a free stock image site.