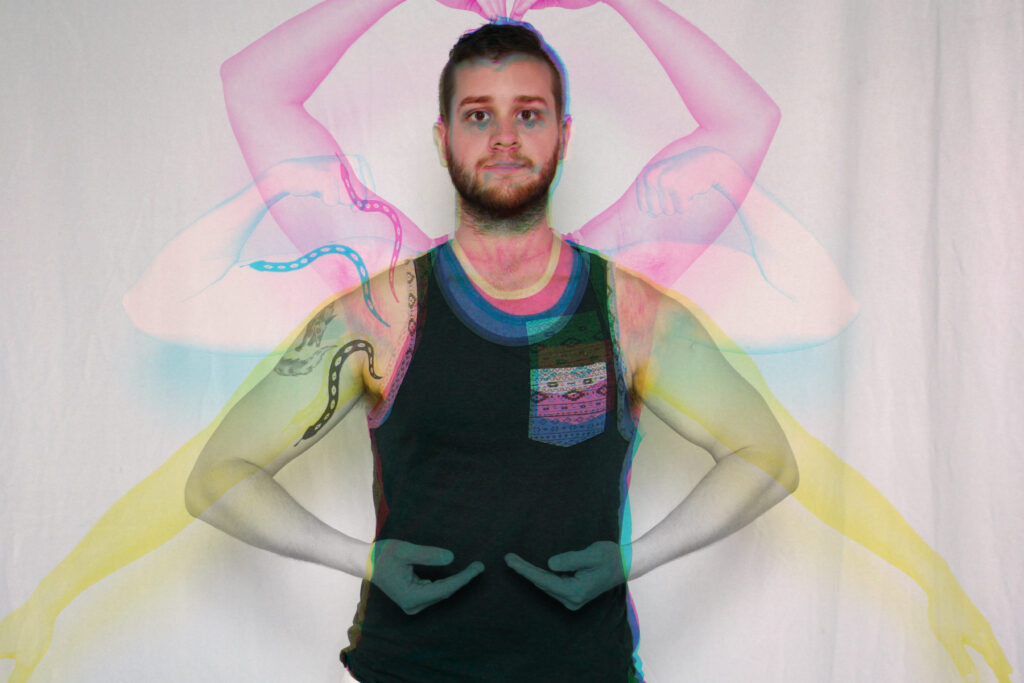
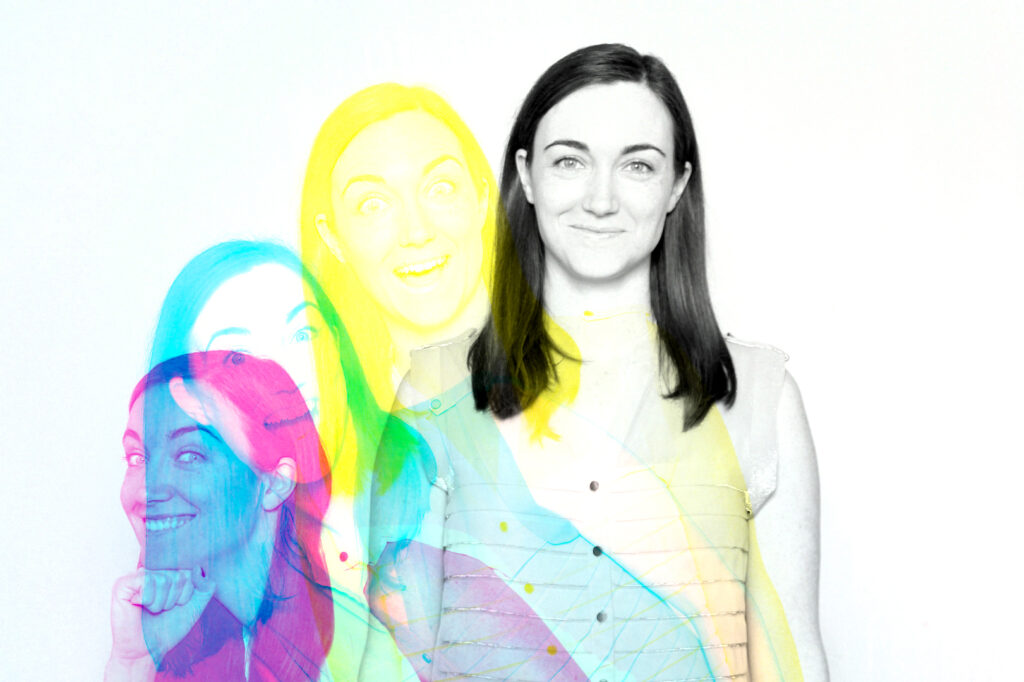
In the final post in our 4 Cool Things series, we’re going to show you how to stand out from the crowd with one the coolest effects that makes your outputs pop with a splash of color: CMYK – Cyan, Magenta, Yellow, and Key (Black). This subtractive color model is commonly used in printing to achieve stunning, vibrant results. In this blog post, we’ll delve into what CMYK is and how you can harness the power of Photo Booth Upload from LA Photo Party to create jaw-dropping CMYK effects that will leave your clients in awe.
What is CMYK?
CMYK is an acronym for Cyan, Magenta, Yellow, and Key (Black). It is the primary color model used in printing, especially for producing high-quality, colorful images. When you print something using the CMYK model, it combines these four separate color channels to create a final layered image. In the world of event photography, understanding CMYK is essential for producing vibrant prints that stand out.
How Do You Use It?
First let’s get into how it works. Photo Booth Upload works in conjunction with Adobe Photoshop to create this effect instantly at your photo booth. Photo Booth Upload takes four different photos of the guest and organizes them on to a horizontal photostrip. Then Photoshop takes the image strip, separates it into four images, and shifts each image into a different color channel – Cyan, Magenta, Yellow, and Black. Then the layers are stacked on top of each other.
Here’s a step-by-step guide to setting up CMYK:
- Make sure Photoshop is installed:
- Begin by installing Adobe Photoshop on your computer that is running Photo Booth Upload.. Photo Booth Upload will open the software automatically when it runs the action.
- Setting Up Photo Booth Upload for CMYK:
- This part might sound a bit tricky, but don’t worry; we’ll guide you through it. We’ll be utilizing features within Photo Booth Upload to create the CMYK filter. Here’s how:
- Click on the ‘S’ tab for settings.
- Select the ‘Page Designer Tab at the top of the screen.’
- Create a new page layout.
- This part might sound a bit tricky, but don’t worry; we’ll guide you through it. We’ll be utilizing features within Photo Booth Upload to create the CMYK filter. Here’s how:
- Customize the Page Layout:
- You’ll be creating separate photo holders for cyan, magenta, yellow, and black. Follow these steps:
- For a 6×4 final output, you’ll set the page size to ‘Custom’ with dimensions 24 inches by 4 inches.
- Create four separate, side-by-side photo holders for cyan, magenta, yellow, and black. For your 6×4 photo, you’ll make sure they are three by two photos.
- Add messages or instructions to each photo holder, if desired.
- *Note this Photoshop action will work with any size you wish (4×6, 5×7, 5×5, etc.), so long as you multiply the width dimensions by 4 when creating the Page Layout.
- For example: If you want a 5×7 (width x height) final image, you would multiply the width of 5 inches by 4 so the page layout would be 20 inches by 7 inches.
- You’ll be creating separate photo holders for cyan, magenta, yellow, and black. Follow these steps:
- Set Pixel Positions:
- To ensure precision, set the exact pixel positions for each photo holder. Click on each photo holder to adjust the position. Then select the ‘Advanced’ tab to set each photo holder in the exact position.
- Photo Holder 1 – Cyan: 0 inches from the left, 0 inches from the top.
- Photo Holder 2 -Magenta: 6 inches from the left, 0 inches from the top.
- Photo Holder 3 -Yellow: 12 inches from the left, 0 inches from the top.
- Photo Holder 4 -Black: 18 inches from the left, 0 inches from the top.
- To ensure precision, set the exact pixel positions for each photo holder. Click on each photo holder to adjust the position. Then select the ‘Advanced’ tab to set each photo holder in the exact position.
- Applying the CMYK Filter:
- Now comes the fun part. To apply the CMYK effect, follow these steps:
- Go to the Filters tab on your Page Design.
- Click the dropdown menu and select Photoshop Action
- Then click the ‘Config’ button to configure your action.
- Select the version year of Photoshop.
- Then click ‘Open File’ to load the CMYK action.If everything works properly, you’ll see all of the photo holders combine to show the finished image,Watch as the action combines the four separate photos and stacks them on top of each other.
- Now comes the fun part. To apply the CMYK effect, follow these steps:
- Enjoy the Magic:
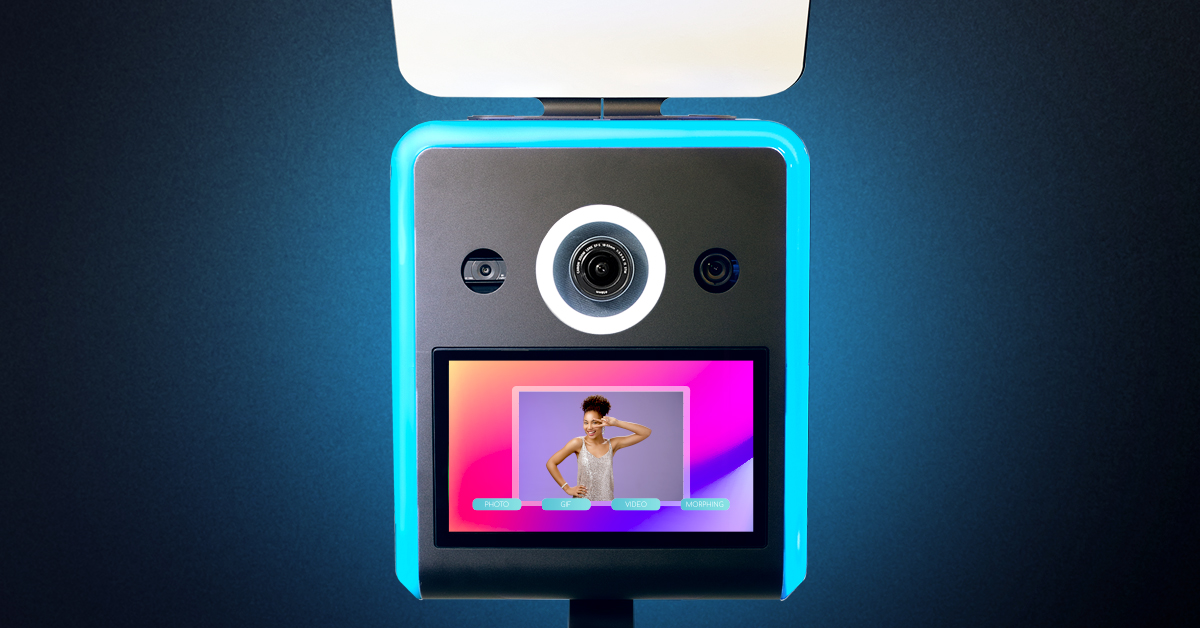
- Once the action is applied, you’ll see the layered effect in the preview window of Photo Booth Upload. Note that in this specific instance when using Photoshop actions with a Photo Booth Upload Page Design feature, the final result does not immediately appear on the preview screen. Guests can view the finished CMYK image at the sharing kiosk.
What Else Can You Do with It?
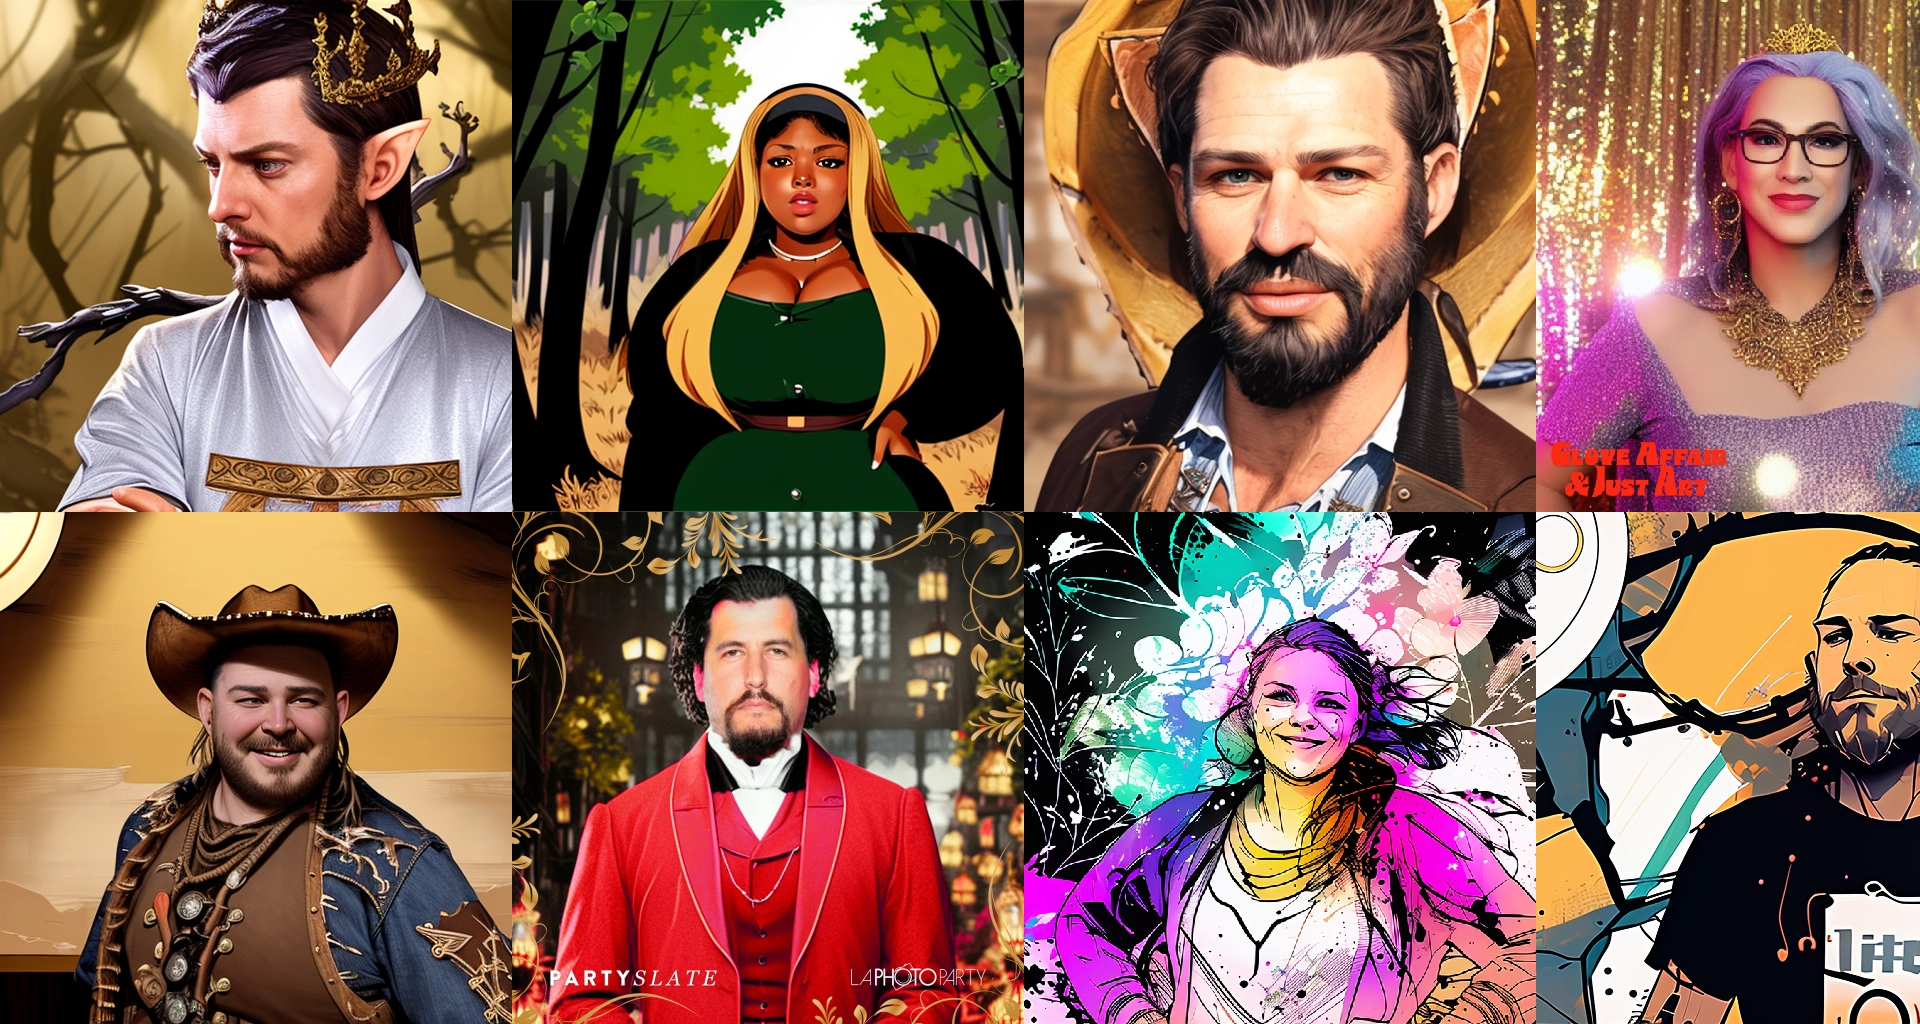
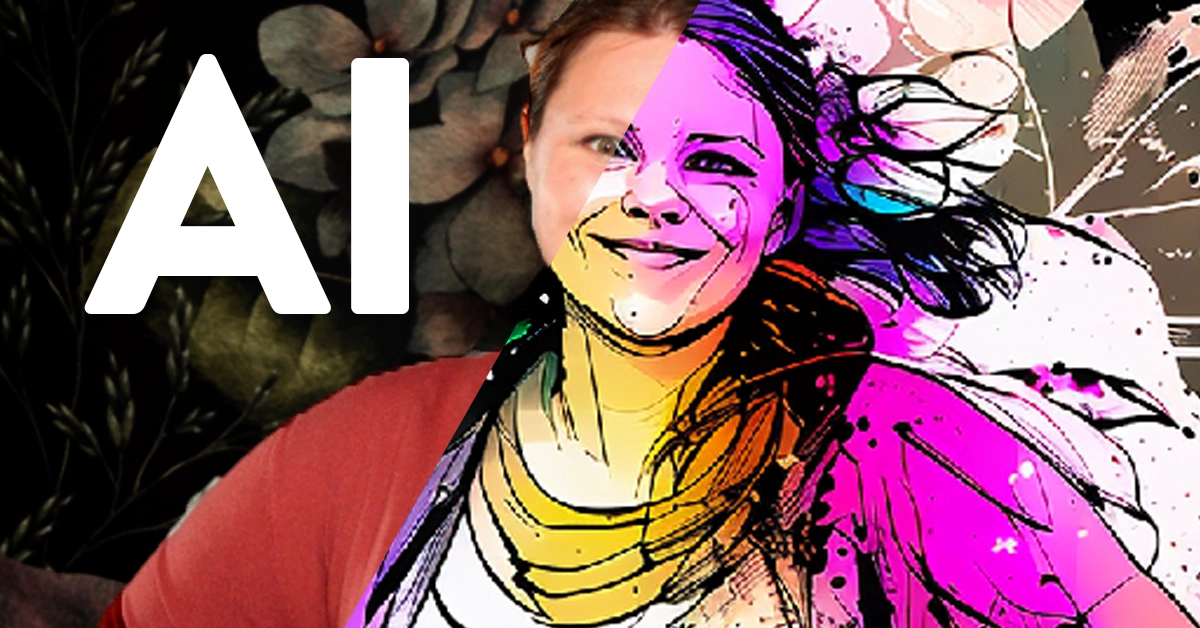
CMYK is not just limited to producing colorful prints. From personalized event branding to artistic effects, CMYK can take your photo booth business to the next level. It’s the secret ingredient to making every event an unforgettable experience, offering more than just photos; it’s an artistic journey.
What Do You Need to Get Started?
To embark on this creative journey, you’ll need a few essentials.
- First and foremost, Photo Booth Upload (PBU) from LA Photo Party is your go-to software
- Additionally, you’ll need Adobe Photoshop to apply CMYK filters effectively
- A Canon Camera to capture these stunning still photos
- Ensure you have a white background to make your images pop
Most importantly, bring your imagination to the table. The possibilities are limited only by your creativity and willingness to explore new horizons.
Free photoshop Action Download
Get started even faster with the Free CMYK Photoshop Action from LA Photo Party and save some time getting your CMYK photo op ready.
In conclusion, double exposure is a powerful and versatile technique that adds an artistic touch to your photos and videos. With the right software and a creative mindset, the possibilities are endless. Explore, experiment, and let your imagination run wild to create unique and captivating visuals that will leave a lasting impression on your audience