On day 2 of our “4 Cool Things” series, we’re going to show you how to use a widely under-utilized feature to wow your guests. If you want to create a custom, dynamic filter without the processing lag of a Photoshop action, then Look Up Tables (LUTs) are your best solution! LUTs allow you to create tailored filters that instantly apply to your videos, gifs, or images.
In this blog post, we’ll tell you what they are, how to make them, and give you some insider tips on making the best filters for any event.
Lookup Tables: Your Secret to Custom Filters
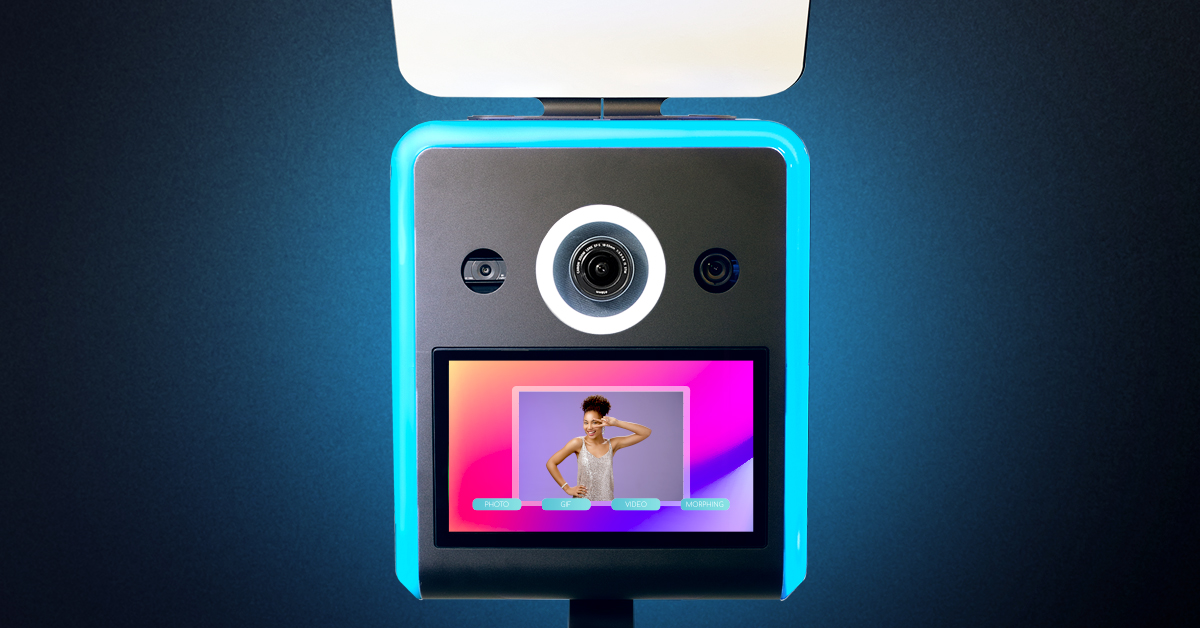
Lookup Tables, or LUTs, are a game-changer for photographers and boothers. They allow you to color grade and enhance images in Photo Booth Upload. It’s quick, it’s easy, and it can be combined with the native features of Photo Booth Upload, making it an incredibly versatile tool.
Using LUTs in Creative Ways
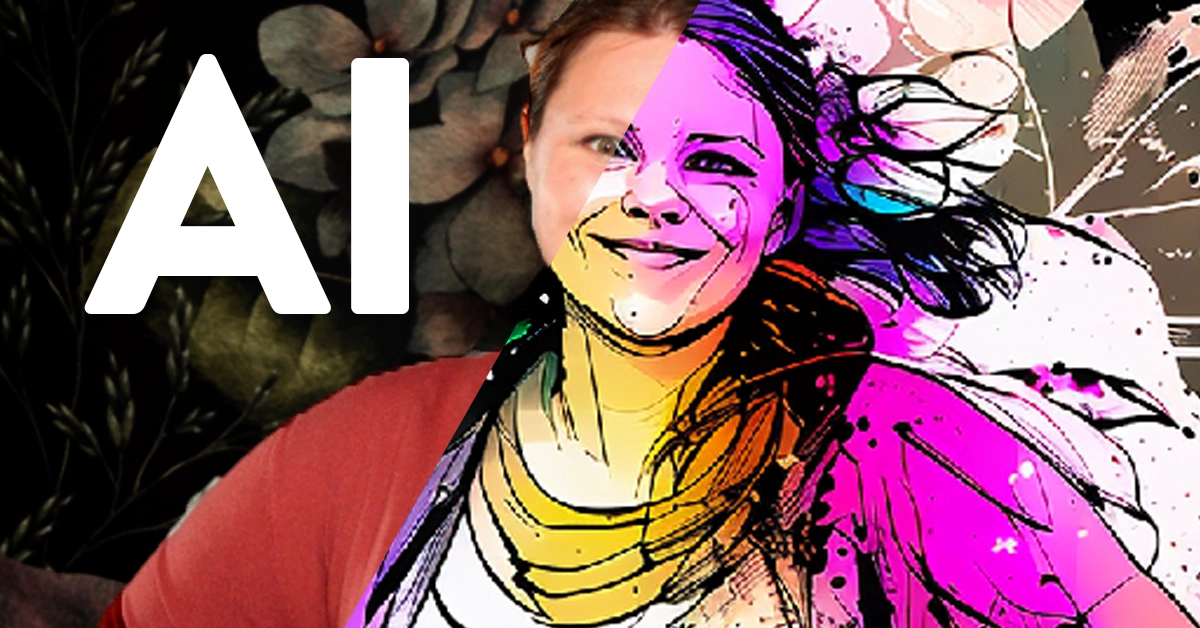
There are a number of ways to use LUTs to enhance your photo booth activation. Here you can see how a simple LUT can transform a photo from black and white to a vibrant blend of purple and fuchsia, giving it a retro filter effect. The best part? This transformation happens instantly, sparing you the time and effort of complex photo editing.
But Lookup Tables aren’t limited to color grading; they can be used for a wide range of adjustments, including contrast, saturation, gradient maps, and more. Essentially, they allow you to leverage any adjustment layer feature in Photoshop and export it as a lookup table file.
Stay up to date on the latest Photo Booth Upload News
Sign up for our mailing list and keep up with everything LA Photo Party has to offer.
Creating Your Own Lookup Table Filter
Now, let’s walk through the process of creating a Lookup Table filter in Photoshop:
- Open Photoshop and open an image to test your LUT..
- Navigate to the “Adjustment Layers” panel and add any effect.
- Customize your effect by adjusting Gradient Map, Exposure, Selective Color, etc – whatever you want!
- Export the filter as a Cube format lookup table file.
- Choose File > Export > Color Lookup Table
- Make sure the format is set to CUBE
Applying Your Custom Filter in Photo Booth Upload
With your custom filter ready, it’s time to apply it in Photo Booth Upload:
- Access the settings in Photo Booth Upload.
- Click “S” for the settings screen.
- Select the filters tab and choose theLUT filter.
- Upload your .lut file.
- Optionally, set it to apply automatically.
Now, every photo you take with Photo Booth Upload will feature your custom filter instantly!
WHAT YOU’LL NEED
You don’t need much to make this incredible add-on pop:
That’s it!
The possibilities with Photo Booth Upload’s Lookup Tables are endless. Whether you’re aiming for retro vibes, stunning color gradations, or artistic double exposures, PBU empowers you to elevate your event photography without the need for advanced editing skills. So, grab your camera, fire up Photo Booth Upload, and let your creativity shine! Your event photos will never be the same again.